
01Find mini islands with the Radar, then identify the landmark
Keep the Radar available while travelling through the water between main islands. Germany328’s first-person 1.1.1 guide describes small yellowish crosses that appear when you get close; official Patch 1.1.2 makes mini-island dots larger. Approach a nearby marker until you can distinguish the island’s structures, then use the matching stop below.
A useful search loop is to travel between main islands, check the nearby dots and move on when the scenery belongs to a different task. Snake and OfficialPapi describe encountering changing islets while boating. Treat the palm, sand, targets, bridge and pillars as your final identification check.
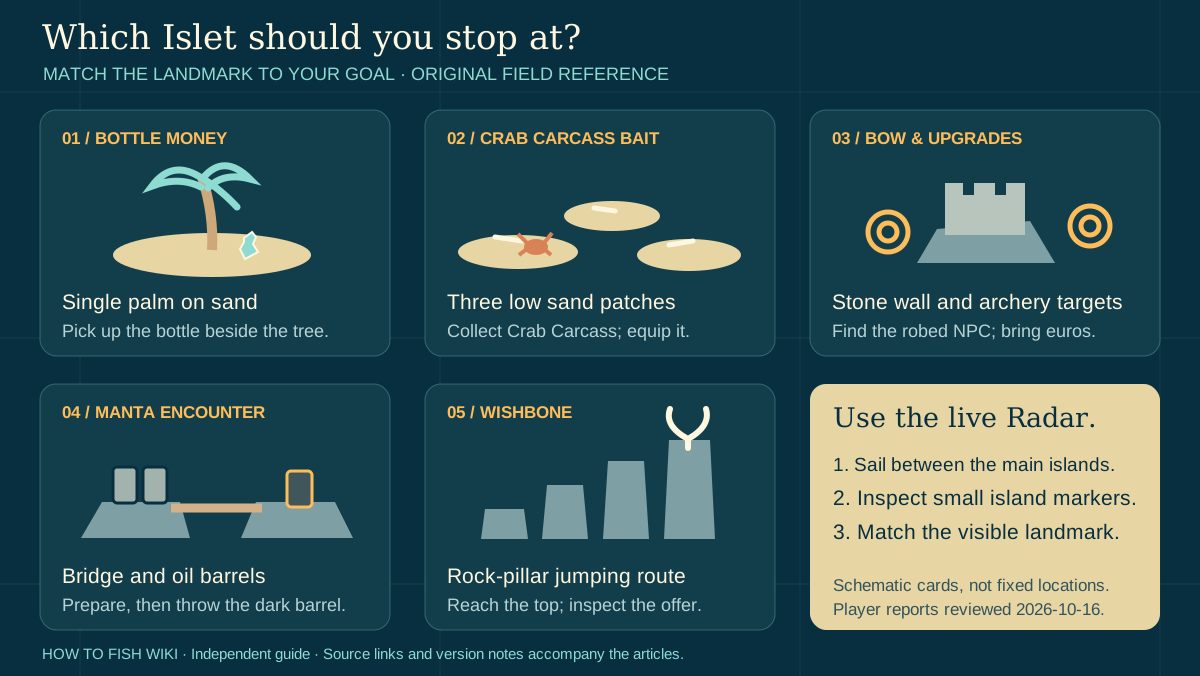
- One palm on a tiny sandy island → Money in a Bottle.
- Three low sand patches with bones → Crab Carcass bait.
- Targets on surrounding rocks and a round stone wall → Bow shop.
- Two rocky patches joined by a bridge, warning sign and oil barrels → Manta trigger.
- A rising set of rock pillars → Wishbone upgrade at the top.
02Money in a Bottle: land at the single-palm island
Look for a very small sandy island with one palm tree. Walk around the trunk and inspect the ground for the bottle. Germany328’s 1.1.1 route reports that picking it up unlocks Money in a bottle; selling it to a merchant converts the item into spendable euros.
- Identify the tiny sand island by its lone palm before landing.
- Look beside the tree and pick up Money in a Bottle when its interaction prompt appears.
- Carry the bottle to a merchant and sell it if you need euros for your next purchase.
03Crab Carcass: inspect all three low sand patches
The bait stop is three low sand patches close to the water, with pale bones visible across them. Snake’s 1.1.3 screenshot shows how low the island sits, so inspect the sand after approaching rather than expecting trees or a shop. Find the small Crab Carcass pickup, equip it on the Fishing Rod and use it for the Islet catch pool.
Check each patch before leaving. Official Patch 1.1.2 increases the new bait spawns from two to three and fixes Tench failing to spawn from this bait. If Tench is your missing catch, check the version on the main menu before another fishing session.
- Approach the three sand patches and inspect the ground around the visible bones.
- Aim at the small pickup until the Crab Carcass interaction appears, then collect the available bait.
- Equip Crab Carcass on the Fishing Rod before casting; use the catch finder to check the fish you still need.
04Bow shop: follow the archery targets to the round wall
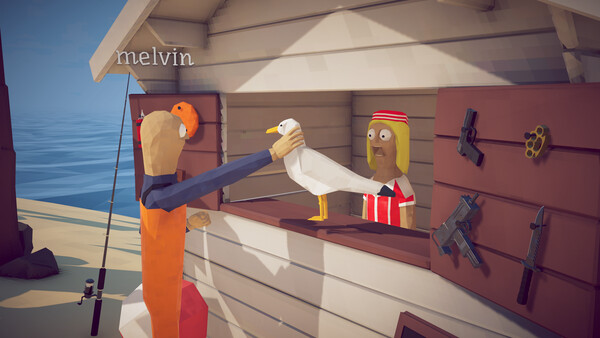
Look for archery targets on small rocks surrounding a larger rocky islet. The central structure resembles a short circular castle wall. Land at that central island and find the robed NPC; this is the stop for the Bow, arrow and quiver upgrades. Bring euros from the bottle or Islet catches before making the shopping trip.
05Manta: use the movable barrel on the bridge island
Identify two small rocky patches connected by a bridge, with a warning sign and oil barrels nearby. Germany328 and Snake both describe a movable barrel that summons Manta when thrown into the sea. Germany328 identifies it as darker and separated from the other barrels. Use the pickup prompt to confirm the interactive object.
- Prepare your weapon and healing before handling the encounter trigger.
- Inspect the darker, separated barrel near the warning sign and pick it up.
- Throw that barrel into the water to start the Manta encounter, then switch to your combat equipment.
06Wishbone: climb the stone pillars and inspect the top
The Wishbone stop is a group of rock pillars rising above the sea, with lower rocks forming a jumping route. Start at the accessible low rocks and work toward the tallest pillar. The small Wishbone object at the top has the purchase prompt; bring euros if you want the upgrade.
Buying Wishbone applies an upgrade rather than adding a carried item. If the prompt says “Maxed for this island”, you have reached the purchase limit shown for that stop. Check your current offer instead of budgeting from a launch-day price list: official Patch 1.1.2 changes Wishbone pricing.
07Radar or pickup problem? Match the symptom to the next check
Use these checks before repeating an entire route. Mini-island discovery, finding the correct interactive object and unlocking the next story destination require different actions.
- No nearby mini-island marker: travel through the open water between main islands and check the Radar again. The 1.1.1 route describes markers appearing at close range; 1.1.2 makes the dots easier to see.
- Marker leads to the wrong island: identify the scenery, then keep exploring for the landmark that matches your task.
- Bait island found but pickup unclear: inspect the sand on all three patches and look for Crab Carcass’s own interaction prompt among the larger bones.
- Oil barrel will not move: compare the barrels near the sign and try the darker one standing apart from the group.
- Wishbone bought but inventory unchanged: the purchase applies an upgrade; inspect the prompt at the top pillar for the current offer or purchase limit.
- Next story destination missing: finish the current quest return, check the changed dialogue, then reopen the Radar.
08Main-story route: complete the hand-in before the next trip
Use the route chart for the Lighthouse → Forest → Desert → Rocks → Volcano sequence and its quest gates. The Islet Update changes island spacing, so use your live Radar for the trip and check the active request before leaving each island.
Radar route chart
Visual island route: follow the Radar after each hand-in
Use this story-route chart for quest order and hand-in gates. New Islet mini islands are not plotted.
- Stop 01
Lighthouse
Starting area; the first travel cue follows the opening quest.
- Stop 02
Forest
Use the new Radar destination after the Lighthouse hand-in.
- Stop 03
Desert
Follow the coordinates supplied after the Forest quest completes.
- Stop 04
Rocks
Read the next location after the Pufferfish route updates.
- Stop 05
Volcano
Follow the active scientist objective instead of a fixed public pin.
Route order only, not geographic scale or bearing.
Follow the Radar after the shown hand-in is complete.
No verified mini-island locations, NPC pins or fixed coordinates are shown.
Route order at a glance
Check the quest gate before you sail
Each stop records the quest state that should update the map. It is an original route reference, not a fixed coordinate chart.
| Stage | Map cue | Route gate | Check before sailing |
|---|---|---|---|
| Lighthouse | Starting area; the first travel cue follows the opening quest. | Complete the Lighthouse Keeper’s Spider Crab route and receive boat access. | The Keeper has accepted the quest return and the boat keys are available. |
| Forest | Use the new Radar destination after the Lighthouse hand-in. | Collect three leeches, prepare Giant Piranha bait and finish its quest return. | The three-leech task is complete and the Giant Piranha return has been accepted. |
| Desert | Follow the coordinates supplied after the Forest quest completes. | Help the Tourist, use the Carrot route for Pufferfish and complete the hand-in. | The Pufferfish progression item has been returned to the relevant quest giver. |
| Rocks | Read the next location after the Pufferfish route updates. | Use the Tuna and Terrorizing Bird chain, also called Albatross in some reports. | The bird’s distinct quest item has been handed in, not left with ordinary drops. |
| Volcano | Follow the active scientist objective instead of a fixed public pin. | Complete the Whale experiment and its volcano sequence before the final route. | The scientist’s latest dialogue and the quest tracker both show the next objective. |
09Lighthouse to Forest: finish Spider Crab, then the leech task
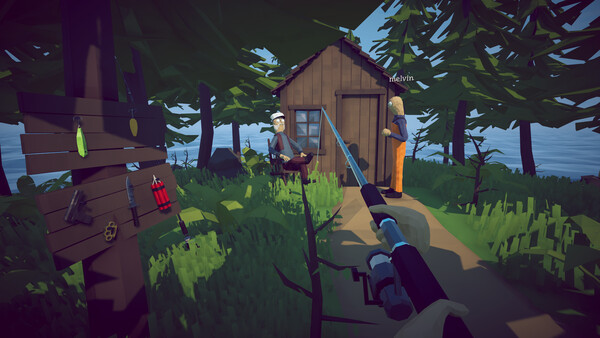
At Lighthouse, finish the Keeper’s Empty Beer Can and Spider Crab route, then complete the requested return to receive boat access. Check the new Radar destination after the hand-in. At Forest, collect the three leeches on land and return them to unlock the Giant Piranha bait step. After the encounter, keep the distinct progression object and return it to the quest giver before sailing for Desert.
10Desert to Rocks: return the Pufferfish progression item
Complete the Tourist’s requested catch to obtain the Carrot route for Pufferfish. After the encounter, protect the distinct progression item and take it to the quest giver. If Rocks has not appeared, compare the active request with the item you are carrying or left nearby, then finish that return before checking the Radar again.
11Rocks to Volcano: keep Tuna for the bird encounter
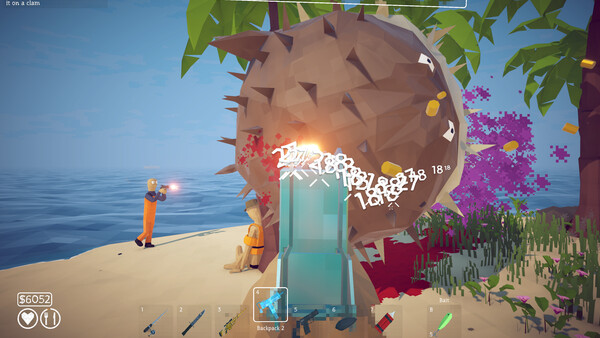
At Rocks, Professional Boss Lure brings up Tuna, whose defeated body triggers the Terrorizing Bird, also called Albatross in player guides. Keep the body while the local quest is active, complete the bird encounter and return its distinct quest item. At Volcano, follow the scientist’s Whale experiment and the updated objective after each hand-in.
If a story cue remains missing, inspect the last return item, revisit the relevant quest giver and reopen the Radar after dialogue changes. If you lost the physical Radar, a Steam player report describes replacement units near local shops; check the shop on your current build. If the completed quest still fails to advance, record the version, solo or co-op state and last dialogue when reporting the issue.
Next verified routes
Continue with the exact next question
Evidence boundary
What this guide can confirm
- Mini-island directions are community observations from Germany328’s first-person 1.1.1 route and Snake’s 1.1.3 guide, checked 2026-10-21. OfficialPapi provides a separate cross-check for the bait, Manta and Wishbone stops. The suggested search loop combines those reports; it is not an in-game test by this site.
- Snake’s 1.1.3 screenshots of the three-patch islet, pillar approach and Wishbone prompt were visually inspected on 2026-10-21. They are linked beside the relevant tasks and remain hosted by their creator on Steam.
- Official Patch 1.1.2 confirms larger mini-island radar dots, the bait-spawn increase from two to three, the Tench fix and changed Wishbone pricing. Marker colour and close-range visibility come from the older 1.1.1 player route.
- The main-story chart summarizes attributed community progression reports. Its island order is a quest checklist; use the live Radar for current positions and each quest giver’s dialogue to confirm the return.
Sources
Sources for this guide
- Germany328 — Euros, Bow, new boss and Wishbone route
First-person route dated 2026-09-29, explicitly recorded on 1.1.1. Rechecked 2026-10-21 for nearby Radar markers, palm-bottle pickup, the archery shop, interactive oil barrel and Wishbone purchase behavior.
- OfficialPapi — All fish and bait UPDATE
Community guide posted 2026-09-29, updated 2026-10-02. Text and comments rechecked 2026-10-21 for three sand patches, Crab Carcass pickups, Manta and the Wishbone pillar route.
- Snake — Every Fish, Boss and Bait, version 1.1.3
Community 1.1.3 guide. The three-sand-patch island, rising pillar route and top-pillar Wishbone interaction screenshots were visually inspected on 2026-10-21; linked beside the tasks rather than republished.
- Official Steam announcement — The Islet Update 1.1.0
Official 2026-09-28 notes for new mini islands and adjusted island spacing; rechecked through the official Steam news feed on 2026-10-21.
- Official Steam announcement — Patch 1.1.2
Official 2026-09-29 notes confirm larger mini-island radar dots, three bait spawns, the Tench fix and Wishbone price changes; checked 2026-10-21.
- How to Fish on Steam
Primary source for the Dazed Games title, released game identity and official Steam record.
- Full island and boss progression walkthrough — August 22, 2026
Community route report for the Lighthouse, leech, Pufferfish, Tuna, Whale and final story sequence.
- Bosses and islands walkthrough — August 29, 2026
Community cross-check for the distinct hand-ins and Volcano Whale sequence; not a substitute for current in-game verification.
- Steam Community Radar recovery report — August 24, 2026
Player report that a lost Radar may be replaceable locally; placement and availability can change after updates.